Canvas tag in HTML
Learn via video course

Overview
The <canvas> tag is one of the HTML5 elements. It defines an area on the web page, where we can create different objects, images, animations, photo compositions via scripts (usually JavaScript). You should use a script to draw graphics because the <canvas> tag is just a container for graphics.
Scope
In this article
- We will learn how to create basic shapes like lines, rectangles and circles using JavaScript.
- We will also learn how to write attractively enhanced text using the canvas tag.
- We will also learn to apply various beautification operations on them.
What is Canvas Tag in HTML?
A Canvas tag in HTML is used to draw and create graphics smoothly. It functions as a container in the HTML document that contains the drawn graphics. A scripting language like JavaScript can be used to draw such graphics.
The canvas tag in itself is transparent, meaning it doesn't create graphics independently. The canvas tag is like the blank paper painters create graphics and sketches on. However, additional tools like paints and brushes would also be required. JavaScript functions like these additional tools.
A canvas scripting API(Application Programming Interface) or the WebGL(Web Graphics Library) API for scripting, aids the graphic designing process. The graphics created by scripting and the canvas tag comprise 2D objects and bitmap images(raster images made up of pixels in a grid).
Canvas tags do not have built-in settings or scenes. It is a procedural, low-level tag for bitmapping(pixelating images into grids).
Canvas tags are an added feature on HTML5. Therefore, older versions of HTML do not support them. The Canvas tag is a container tag. This means that it requires both opening and closing tags.
Syntax
The text enclosed within the 2 canvas tags(opening and closing) is displayed, if the browser doesn't support Canvas tags.
Attributes of Canvas Tag in HTML
Besides the Global Attributes, the attributes supported by the canvas tag are as follows:
| Attribute Name | Accepted Values | Description |
|---|---|---|
| Height | Pixels | height of the canvas |
| Width | Pixels | width of the canvas |
Examples
Before beginning with creating shapes, it is important to understand the basic syntax behind every code.
The code above is used to select all the elements with the ID 'Canvas1' and store them in the variable canvas. getElementbyId is a JavaScript method for selecting objects with the specified ID.
The code above makes use of the getContext('2d') method in JavaScript to render a 2D context space to work on 2D shapes and graphics. This could be considered to be the blank white easel on which the painting work would be done. The variable context stores all the graphic operations in the context space.
Example 1: Create a Rectangle
The .rect() method can be used to create rectangles inside the canvas tag. Here is the sample code to create a rectangle. Code
Output
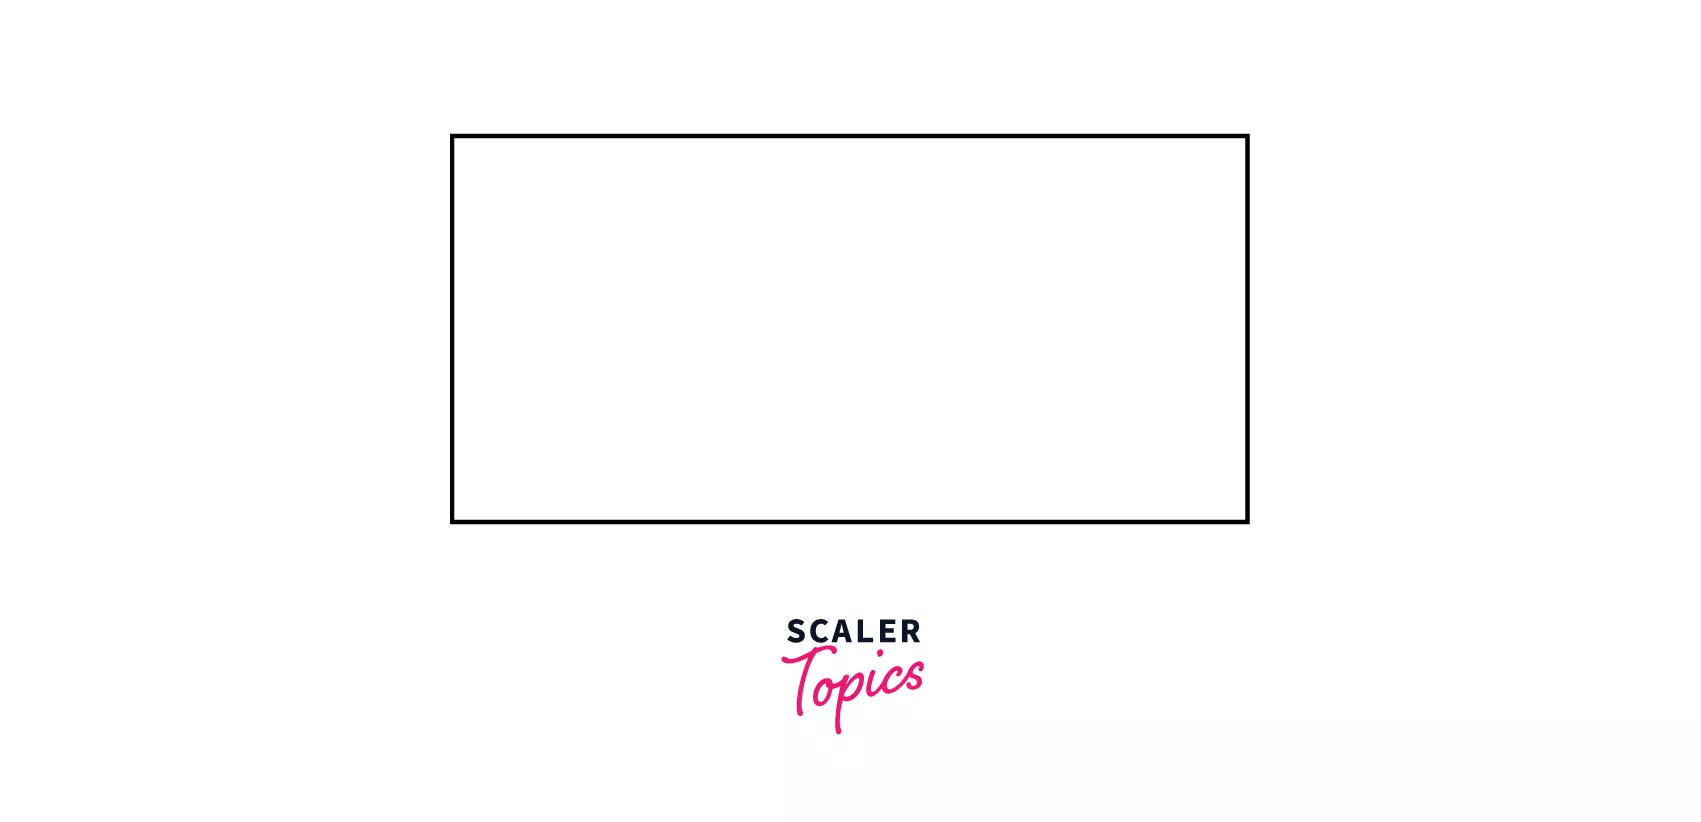
The aforementioned code is used to create a rectangle. The 1st line is used to begin the process of drawing the rectangle. Realistically, it could be paralleled to keeping the tip of the brush on the canvas.
The first two parameters of the .rect() method in the 2nd line are the x and y coordinates respectively. They are used for positioning the rectangle on the 2D plane. The 3rd and the 4th parameter are used for specifying the width (200 px) and the length (100 px) respectively.
The 3rd line of code is finally used to draw the shape.
Example 2: Create a Circle
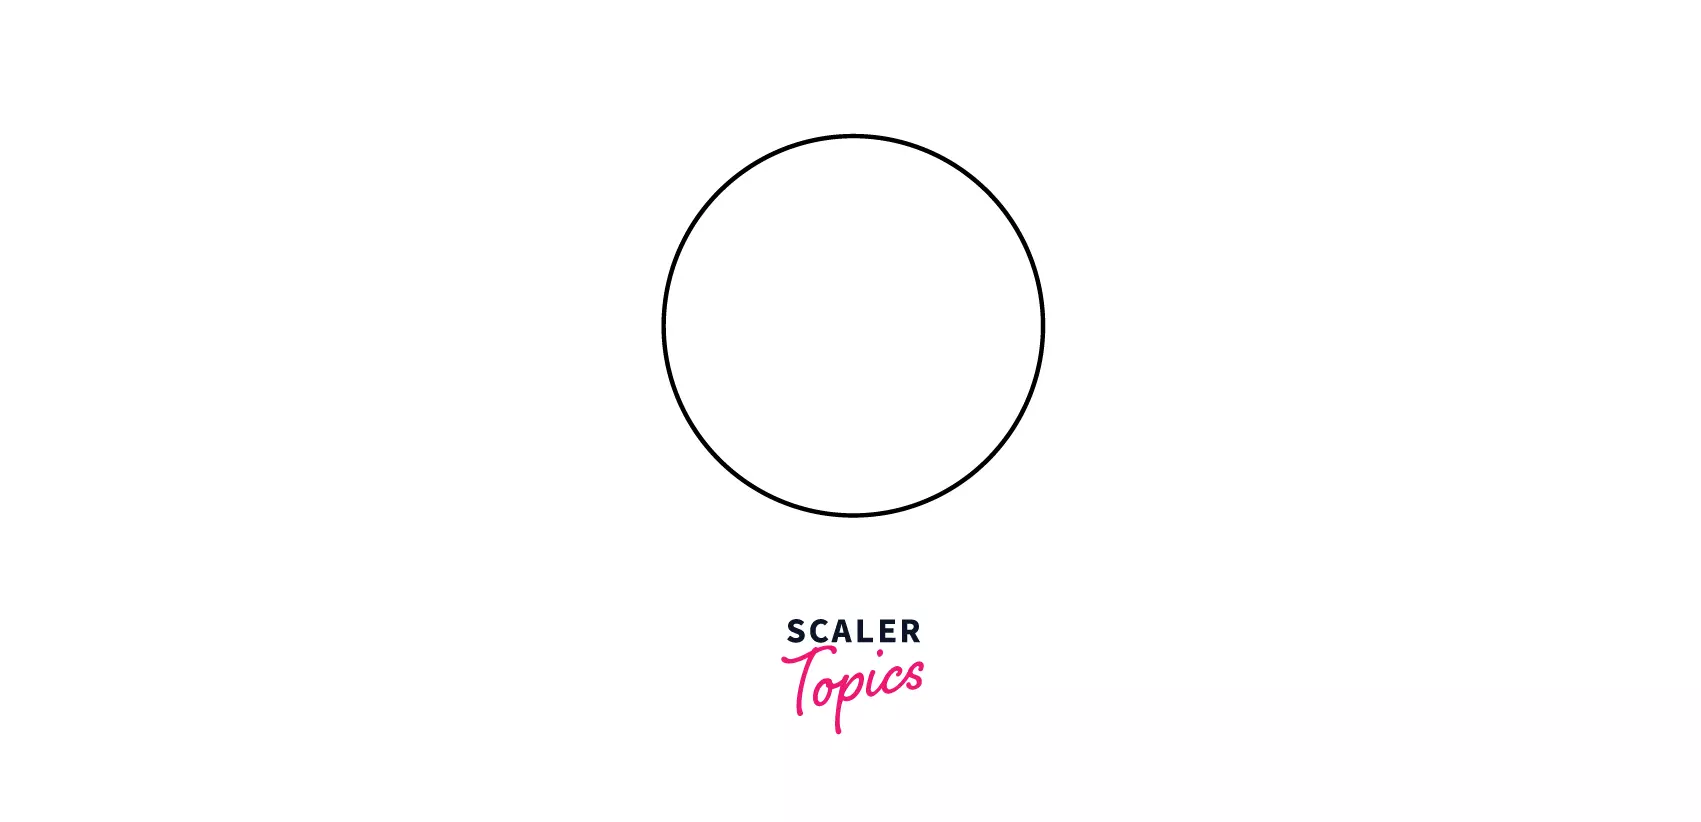
The .arc() method is used to define the creation of a circle on the canvas. The parameters accepted by it include:
- the x coordinates
- y coordinates
- the radius of the circle
- starting angle
- ending angle
The starting angle is mainly set as 0 and the ending angle is set as 2Pi since a standard circle has an angular range from 0 to 2pi. Here is the sample code to create a circle. Code
The 1st line of the code is used to start the process of drawing the circle. The 2nd line contains the aforementioned parameters of the .arc() method. The stroke() method is used to finally draw the curve.
Output
Example 3: Drawing a Line
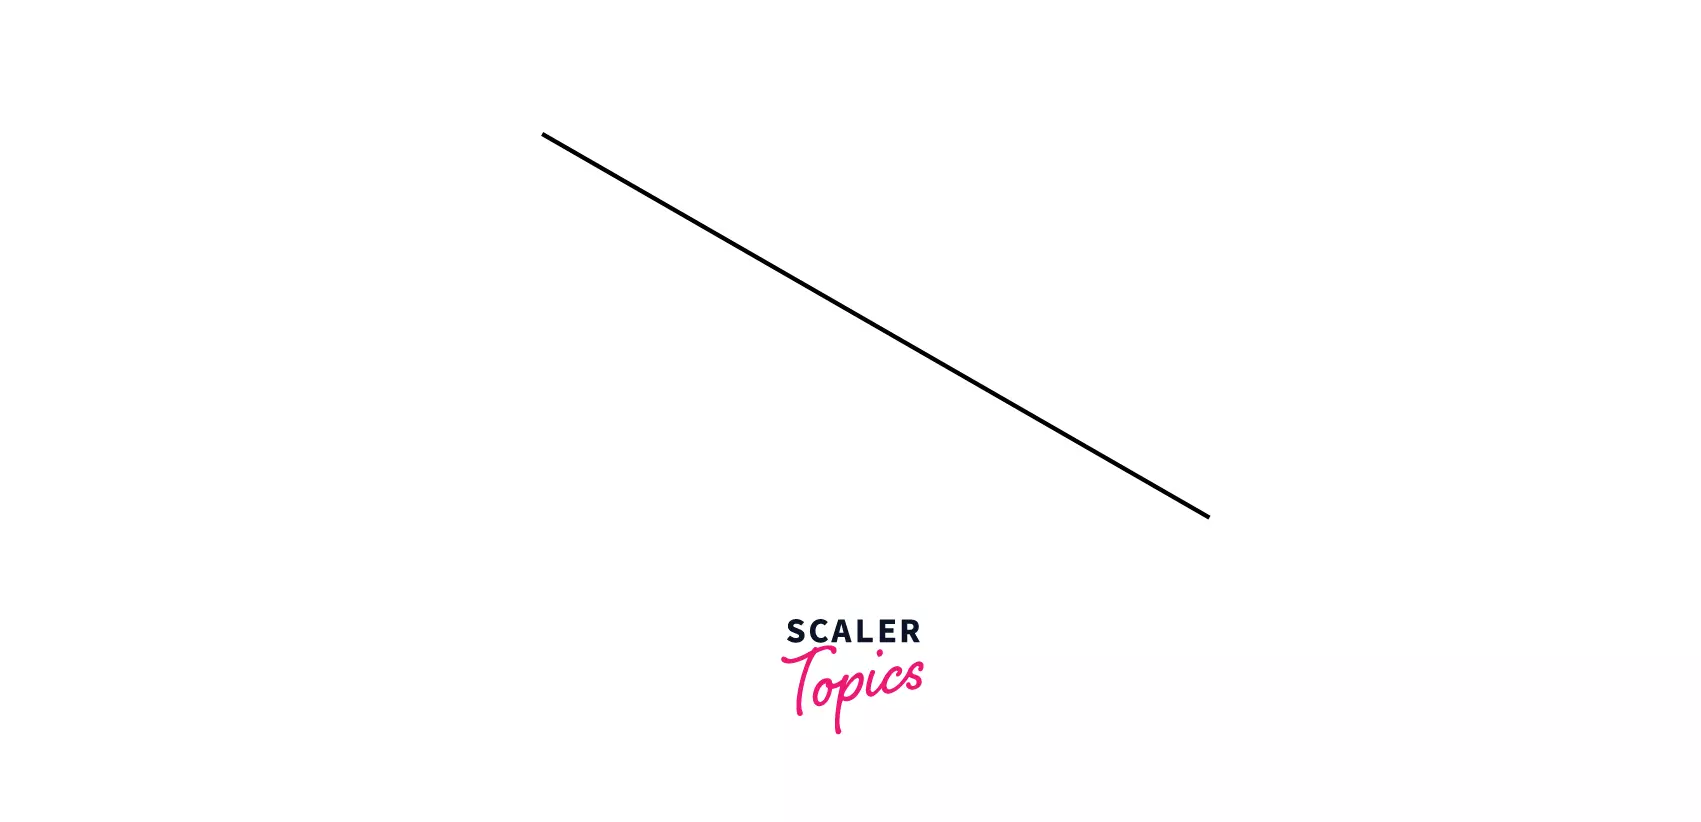
A straight line can also be drawn on the canvas tag. The moveTo and lineTo commands are used to describe the x and y coordinates of the starting position and the ending position of the line respectively. Code
Output
Example 4: Adding Text
There are many methods of adding text using the canvas tag. A few of them are described below:
fillText()
The first method uses the fillText() method to write solid text. Code
Output
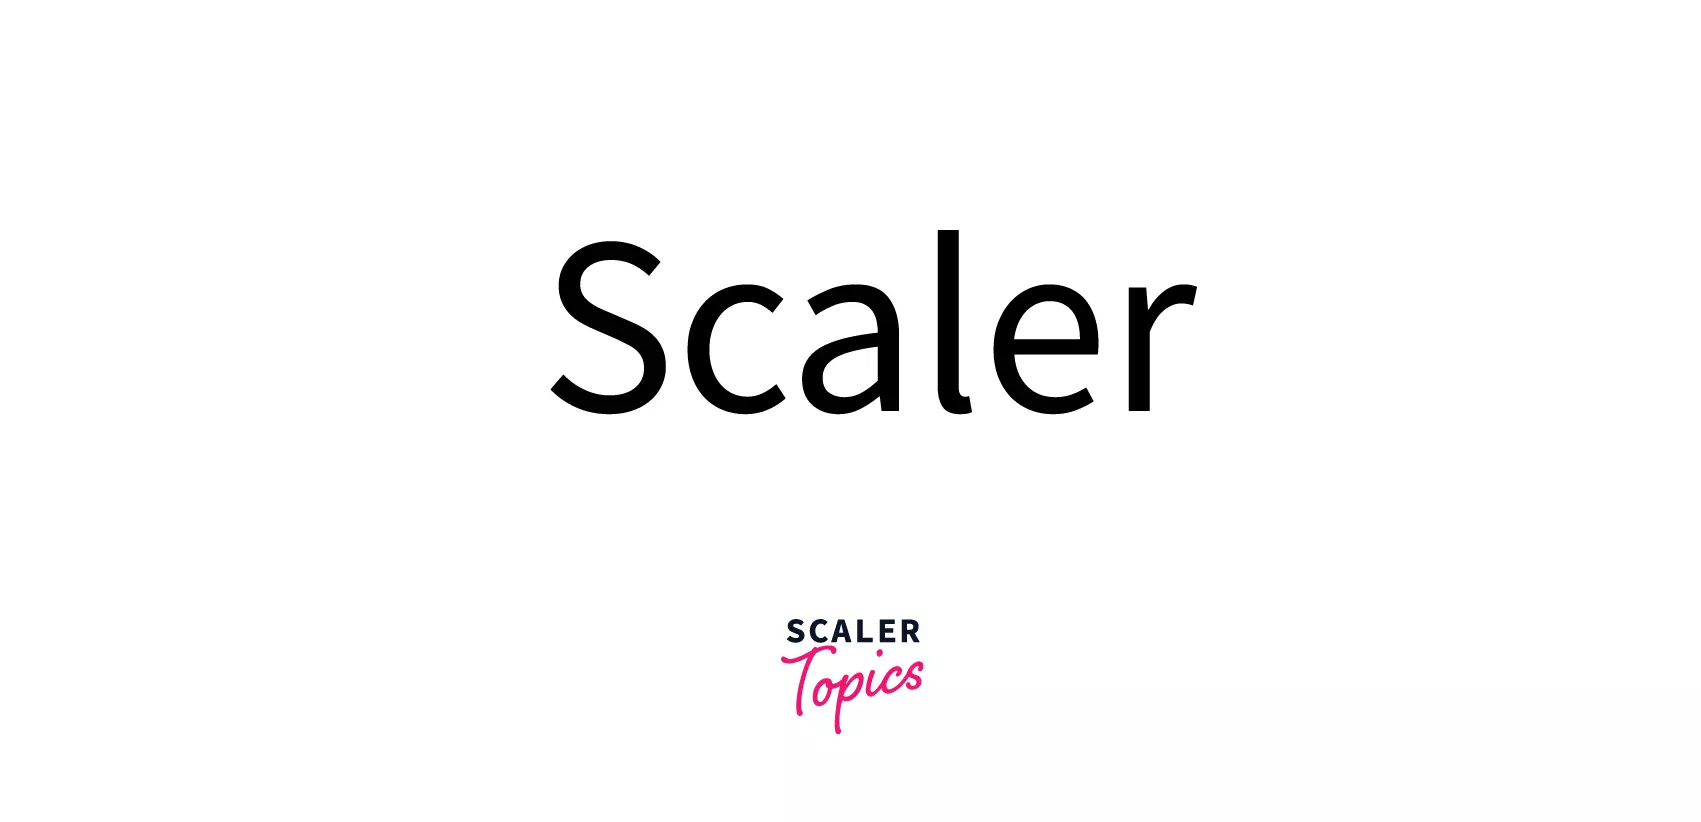
The aforementioned code is used to type the text 'Scaler' with a font size of 30 pixels and the font face as Times New Roman. The last two parameters of the fillText() method are for the x and y-coordinate positioning. To add colored text, a new line of code should be written.
For aligning the text towards the center, use command:
strokeText()
The 2nd method is the strokeText() method for writing text without filling the interiors. Code
Output
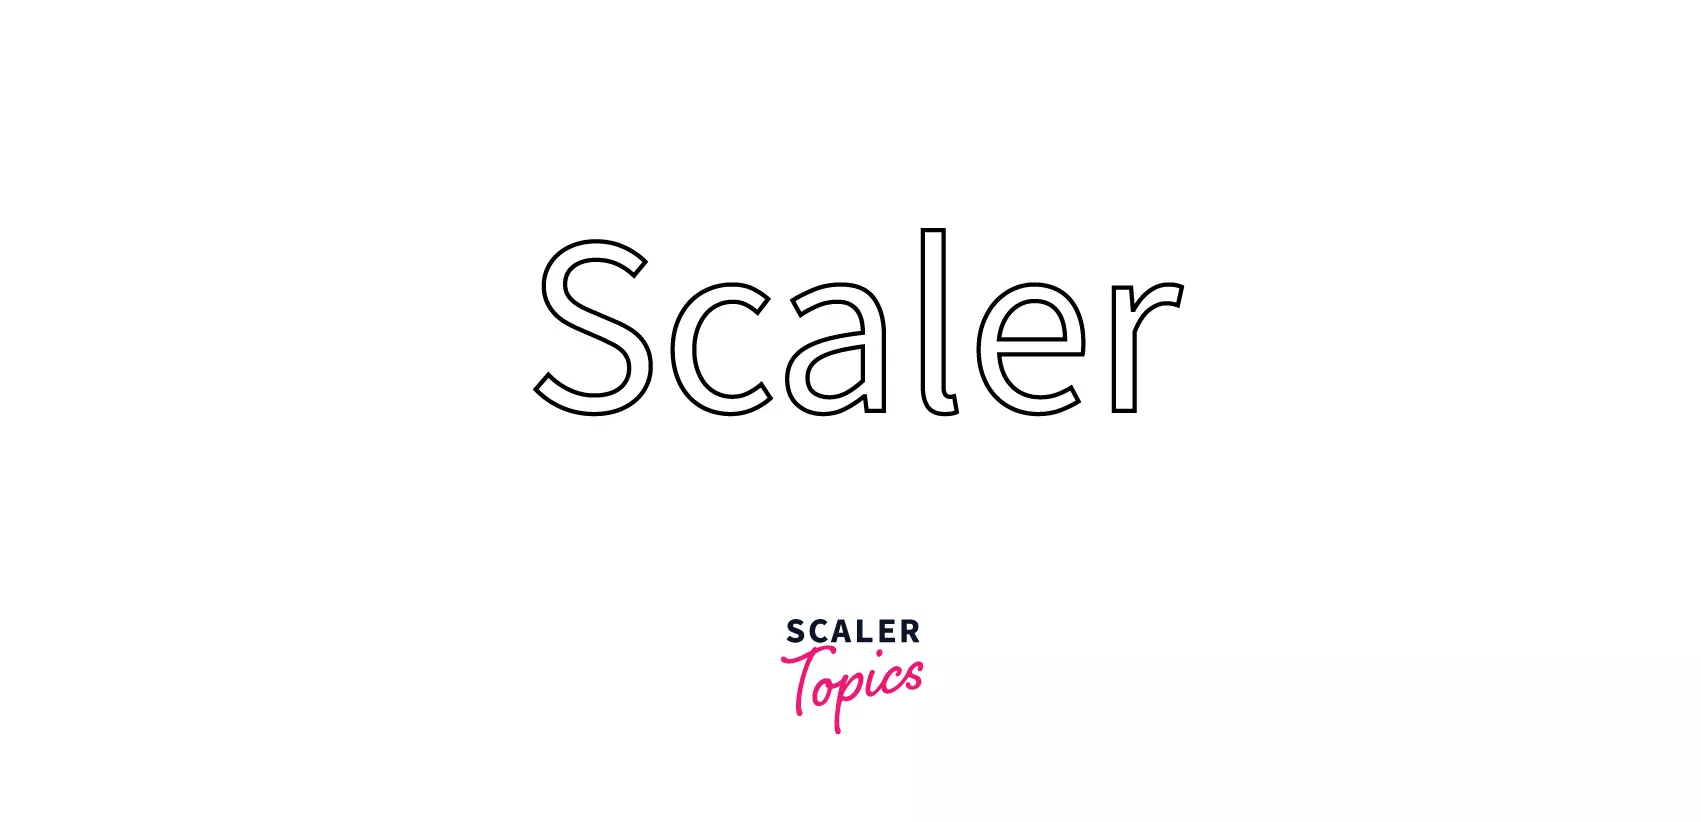 The last two parameters of the strokeText() method are for the x and y-coordinate positioning.
Supported Browsers
| Browsers | Support | Version |
|---|---|---|
| Safari | Yes | >3.1 |
| Chrome | Yes | >4.0 |
| Firefox | Yes | >2.0 |
| Microsoft Edge | Yes | >9.0 |
| Opera Mini | Yes | >9.0 |
Conclusion
- A canvas tag in HTML is used as a container for graphical objects.
- The canvas tag is a transparent tag and only functions as a container for the graphics. The graphics are drawn via scripting.
- The .rect() method could be used for creating rectangles, the .arc() for creating circles and the moveTo() and lineTo() for specifying the starting and ending points for drawing a line.
- The .beginPath() command is used to inform the canvas that a graphic is going to be created. The .stroke() method is used to create the specified graphic.
- The .getContext('2D') method is used for specifying a 2D context plane for creating the graphics.
