How to Install Python on MacOS?
Learn via video course

Introduction
Welcome to your first steps to becoming a Python developer! Before getting started with this Python tutorial and start developing programs with Python, you would require Python setup on your machines. This article will guide you to install and update Python to the latest version on your macOS devices.
Pre-requisites:
- macOS
- Log in as administrator on the terminal
Installing Python on your Mac Machine:
By default, python 2.7.0 is installed on macOS; hence we'll be working on updating to the latest version of Python, i.e., python 3.
How to Check Python Version on Mac?
- Check the latest version of Python on your machine by the following command:
python --version
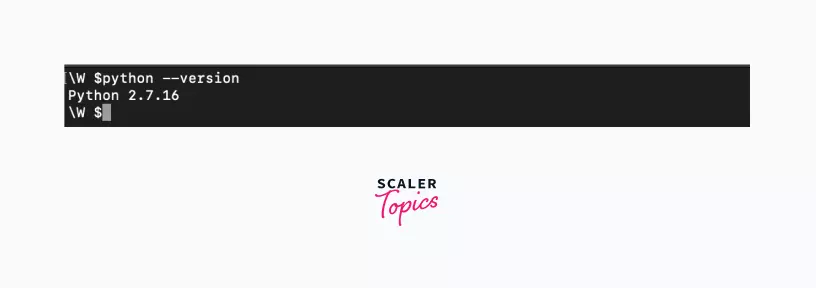
- As we can see from the above output, by default, your machine comes with Python 2.7.0 installed; hence we'll work on installing Python 3.0.
Ways to Install Python on Mac
There are two ways to install the official Python distribution on your machine:
- The Official Installer: This allows you to download the official installer package file from python.org and run it on your machine.
- The Homebrew package manager: This method involves downloading and installing the Homebrew package manager if you don’t already have it installed and then typing a command into a terminal application to install python 3.0. Homebrew is a free and open-source software package management system that simplifies software installation on macOS.
Both these methods will install Python for you, but the official Python foundation maintains only the official installer.
Limitations of Installing from Homebrew
The Python package for macOS that comes with Homebrew doesn’t include the Tcl/Tk dependency required by the Tkinter module. Tkinter is the standard library for developing GUIs (graphical user interfaces) in Python, but it is not part of Python.
Also, homebrew does not install the Tkinter GUI toolkit (it's required for the tinker module); it relies on the existing version of Tkinter that is installed on your machine.
If your system version of the Tkinter module is outdated or missing, homebrew won't import and install the tkinter module. It's a limitation as installing from homebrew is intended for the developers who require a tkinter module.
How to Install Python on Mac From Official Installer?
Installing Python from the official installer is the most reliable installation method on macOS. It includes all the system dependencies needed for developing applications with Python.
Step1: Download the Official Installer
- Navigate to python.org, specifically to Downloads > MacOS and download the latest installation file.
- Click on the latest stable release of Python link under the latest Python releases for macOS. The latest available version of Python as of this writing is v3.10.0
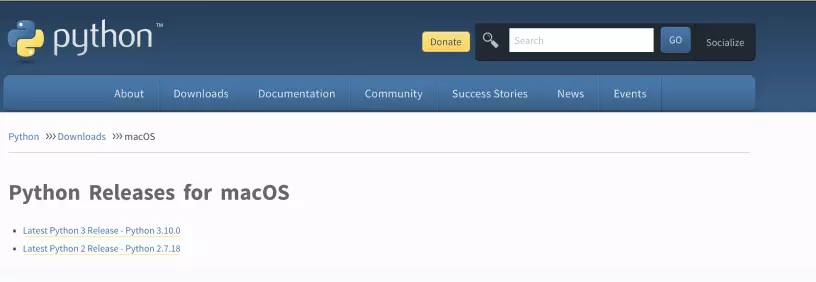
- Now you'll be able to see the version-specific information. Scroll down on this page until you see a table with all available installation files.
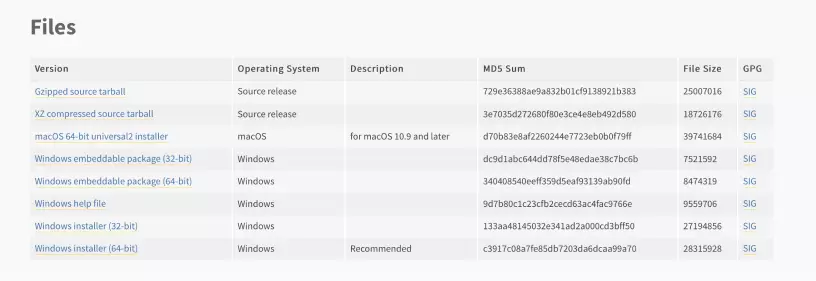
- Select the file that in the description says macOS under the operating system. When the installer is done downloading, finally move on to the next step.
Step2: Run the Installer
- Understand the introduction and press continue to move to the next steps
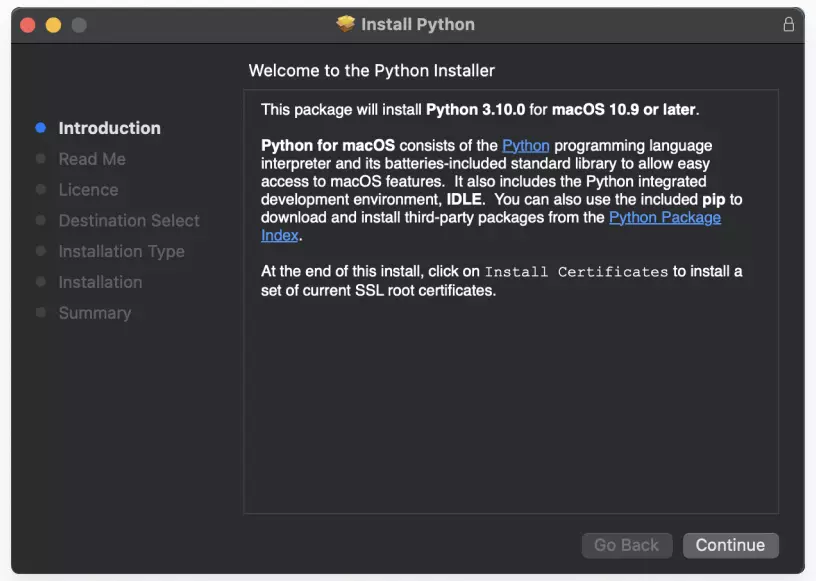
- Understand the important information and continue to the next step
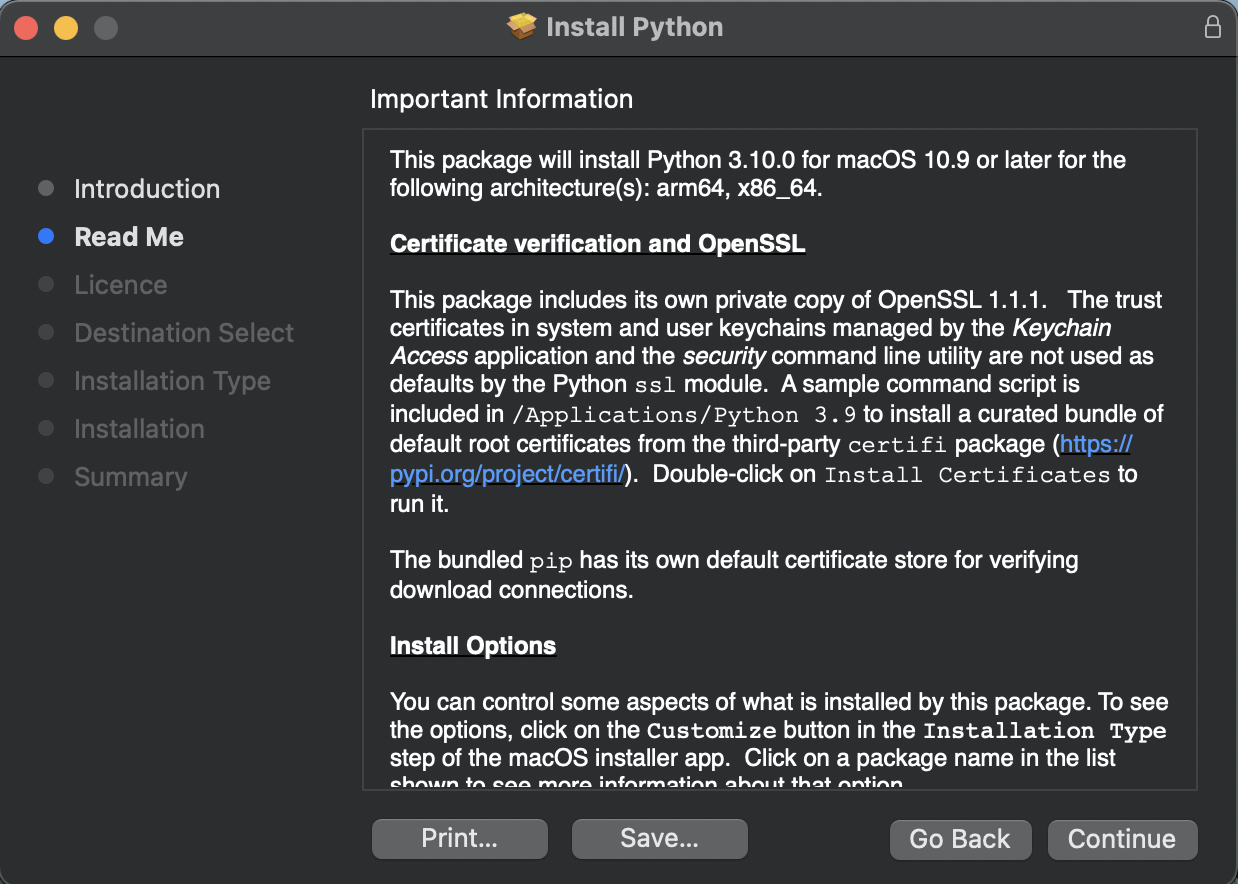
- Understand the license and continue
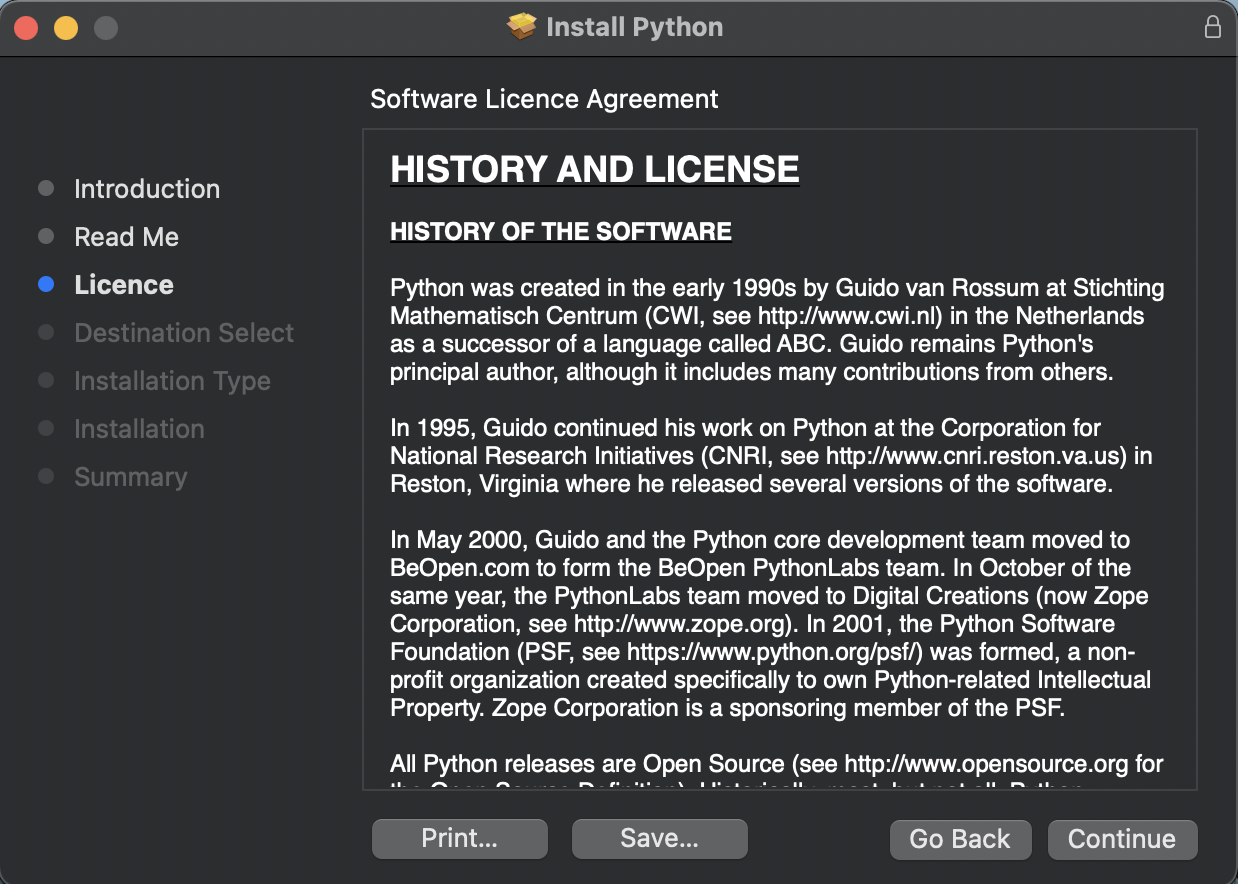
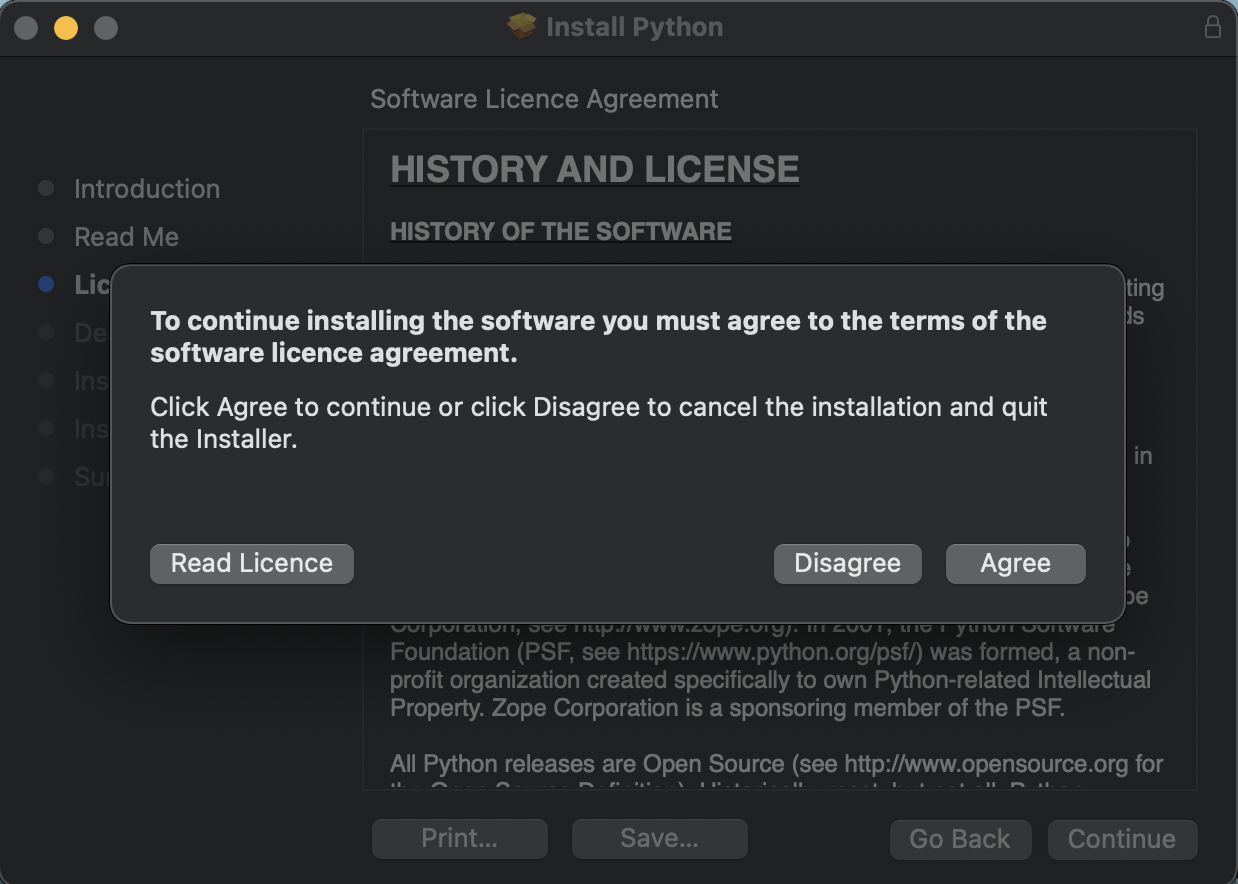
- Select agree if you agree with the agreement and conditions.
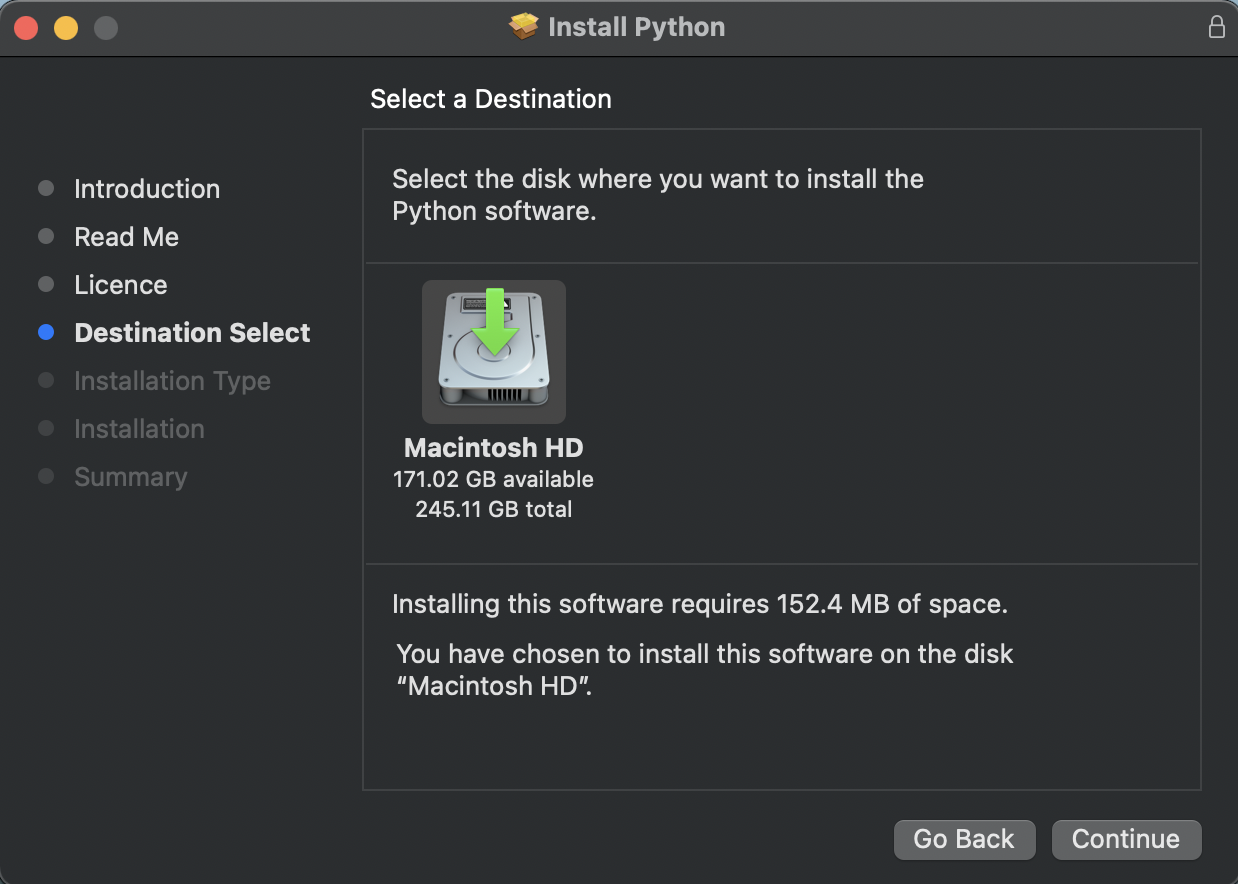
- Select the destination where you would like to install your files Recommendation is not to change the default location that this installer has selected.
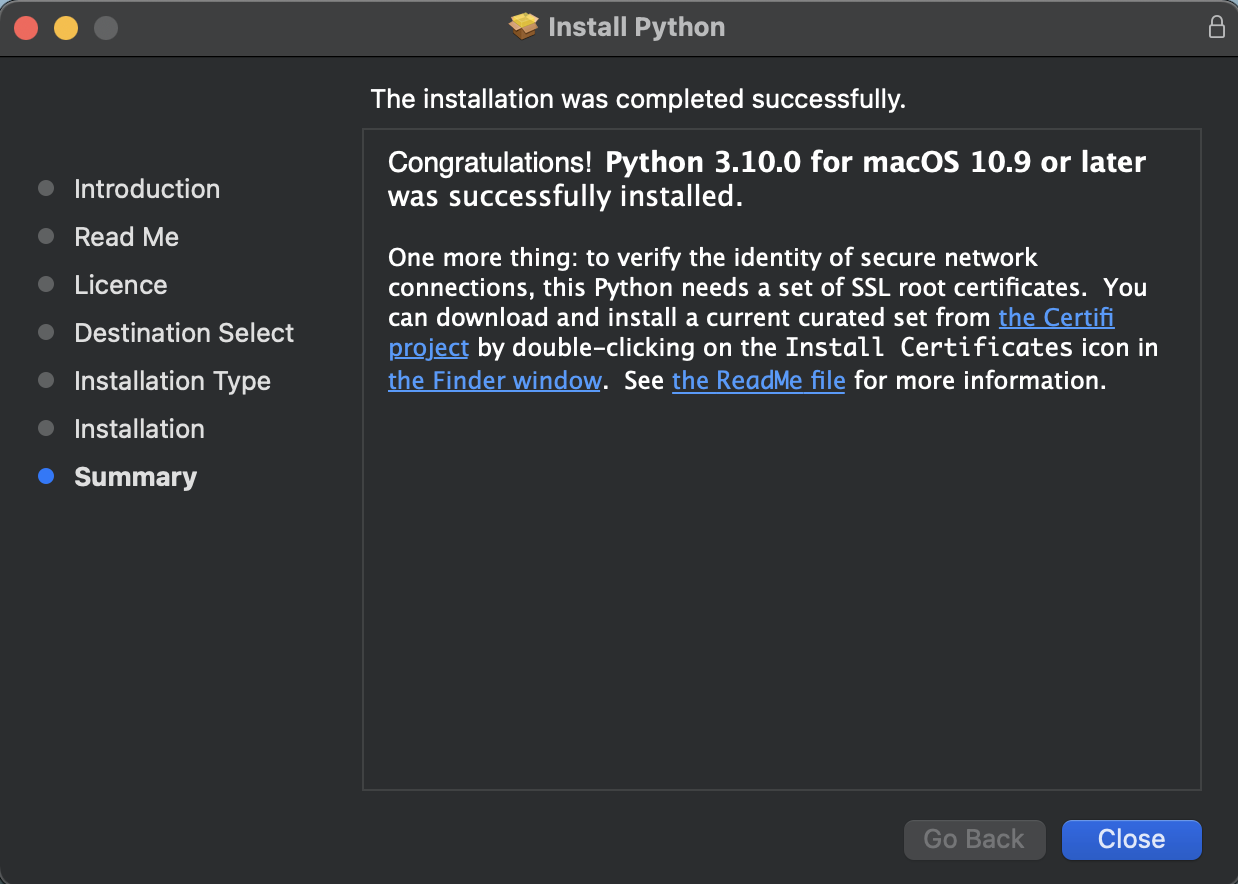
- Installation will start, and you'll get this message once done. You may close this window as now Python 3.0 has been installed on your machine.
How to Install Python from HomeBrew?
The Homebrew package manager is a good option for users who need to install it from the command line. You can install it from the Homebrew package manager in two steps.
- Installing Homebrew (Skip if already installed)
- In your browser, open https://brew.sh
- You'll see the command below 'Install Homebrew' title, copy this command /bin/bash -c "$(curl -fsSL https://raw.githubusercontent.com/Homebrew/install/HEAD/install.sh)"
- Open a terminal window, paste the copied command, and press the 'Enter' or 'Return' button.
- Your homebrew installation will begin. Enter your macOS credentials if and when asked.
- You may get a pop-up alert asking you to install Apple's command line developer tools. Just install them if you get the pop-up, post to which your homebrew installation will continue and will be completed.
Installing Python via homebrew
- Open the terminal and enter the following command to upgrade homebrew: $ brew update && brew upgrade
- Once done, install python using this command: brew install python3
- This should complete the installation of Python on your machine.
Make sure that Python has been installed by following these steps:
- Open a terminal application and type pip3.
- You will be able to see the help information from pip3 only if the python installation is successful.
- Alternatively, type 'py' in the terminal. The terminal will recognize the command and show you the installed version of python. Note: 'py' command works only for python 3.0 and above versions.
- You now have python installed on your macOS!
Conclusion
- Before programming in Python, you would require a python setup on your machines. If you're a Mac user, you'll have python 2.7.0 installed by default. It's recommended that you update the python version to the latest.
- We can install Python in two ways:
- Offical Installer (Recommended)
- Homebrew package manager
- Python, when installed via Homebrew, won't install the Tinker GUI toolkit module on your machine.
- Getting started with python on a macOS is easy, but you need to make the necessary configuration to ensure that you're using the right version of Python from the beginning.
- Installing python via the official installer or homebrew package will allow you to start coding in Python.
