Prerequisites for SpringBoot Application
Learn via video course

Overview
Let's start by searching keyword trends "spring boot".

For the past few years, interest has been growing in spring boot. Over the years, spring boot has become the popular choice for organizations to build enterprise applications, and the trend is continuing.
But before starting with spring boot, there are some prerequisites.
Scope
In this article, we will cover:
- What is spring boot?
- Choice of IDE for spring boot.
- Prerequisites for spring-boot
- Environment setup for spring boot application.
- Installing required software to run spring boot.
Introduction to Spring Boot Application
Definition of spring boot from official website:
Spring Boot makes it easy to create stand-alone, production-grade Spring-based Applications that you can "just run".
Let's break individual key characteristics from the definition.
- Stand-alone - A stand-alone application can run and execute independently. Any class with the main method can run independently. It does not need any external software to run.
- Production-grade - The application can be taken to production quickly without worrying about the observability part. The application can be integrated with varieties of other systems with minimal effort.
- Just-run - Spring boot generates a runnable jar. It needs only JVM to run the application.
About good IDEs to be used for Spring Boot
Spring boot can run on any IDE where maven and Gradle support is available with spring boot-specific features. Spring boot application can be developed using Intellij Idea, Spring Source Tool Suite(STS) and Visual studio code(VsCode).
We will cover steps specific to Visual Studio Code, but the same steps can be applied to any other IDE.
-
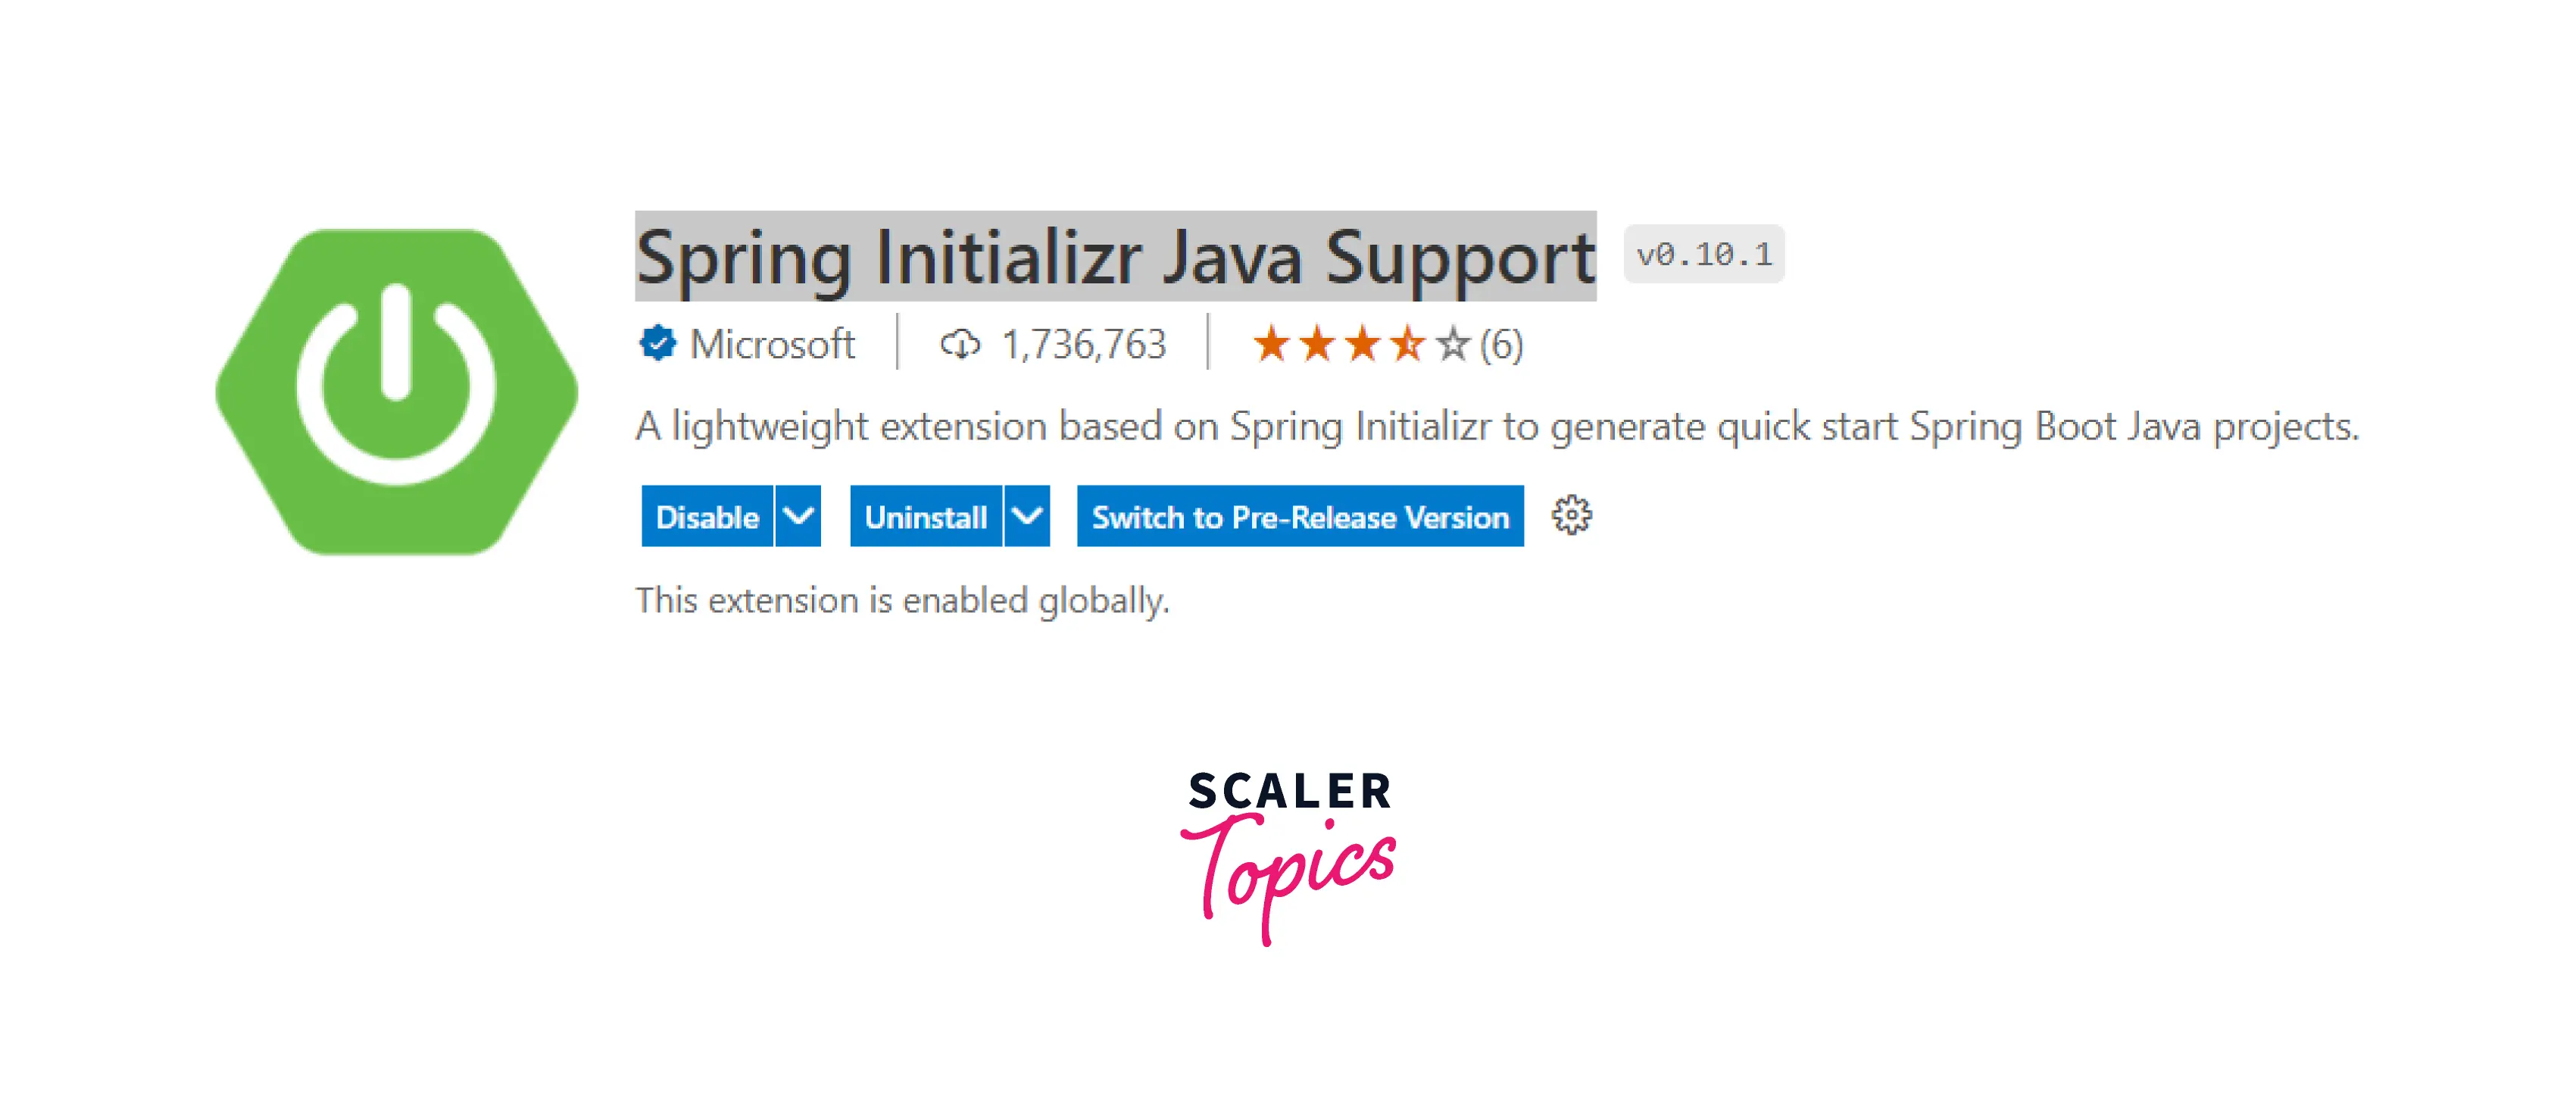
Install the plugin in VS code Install Spring Initializer Java Support plugin.
-
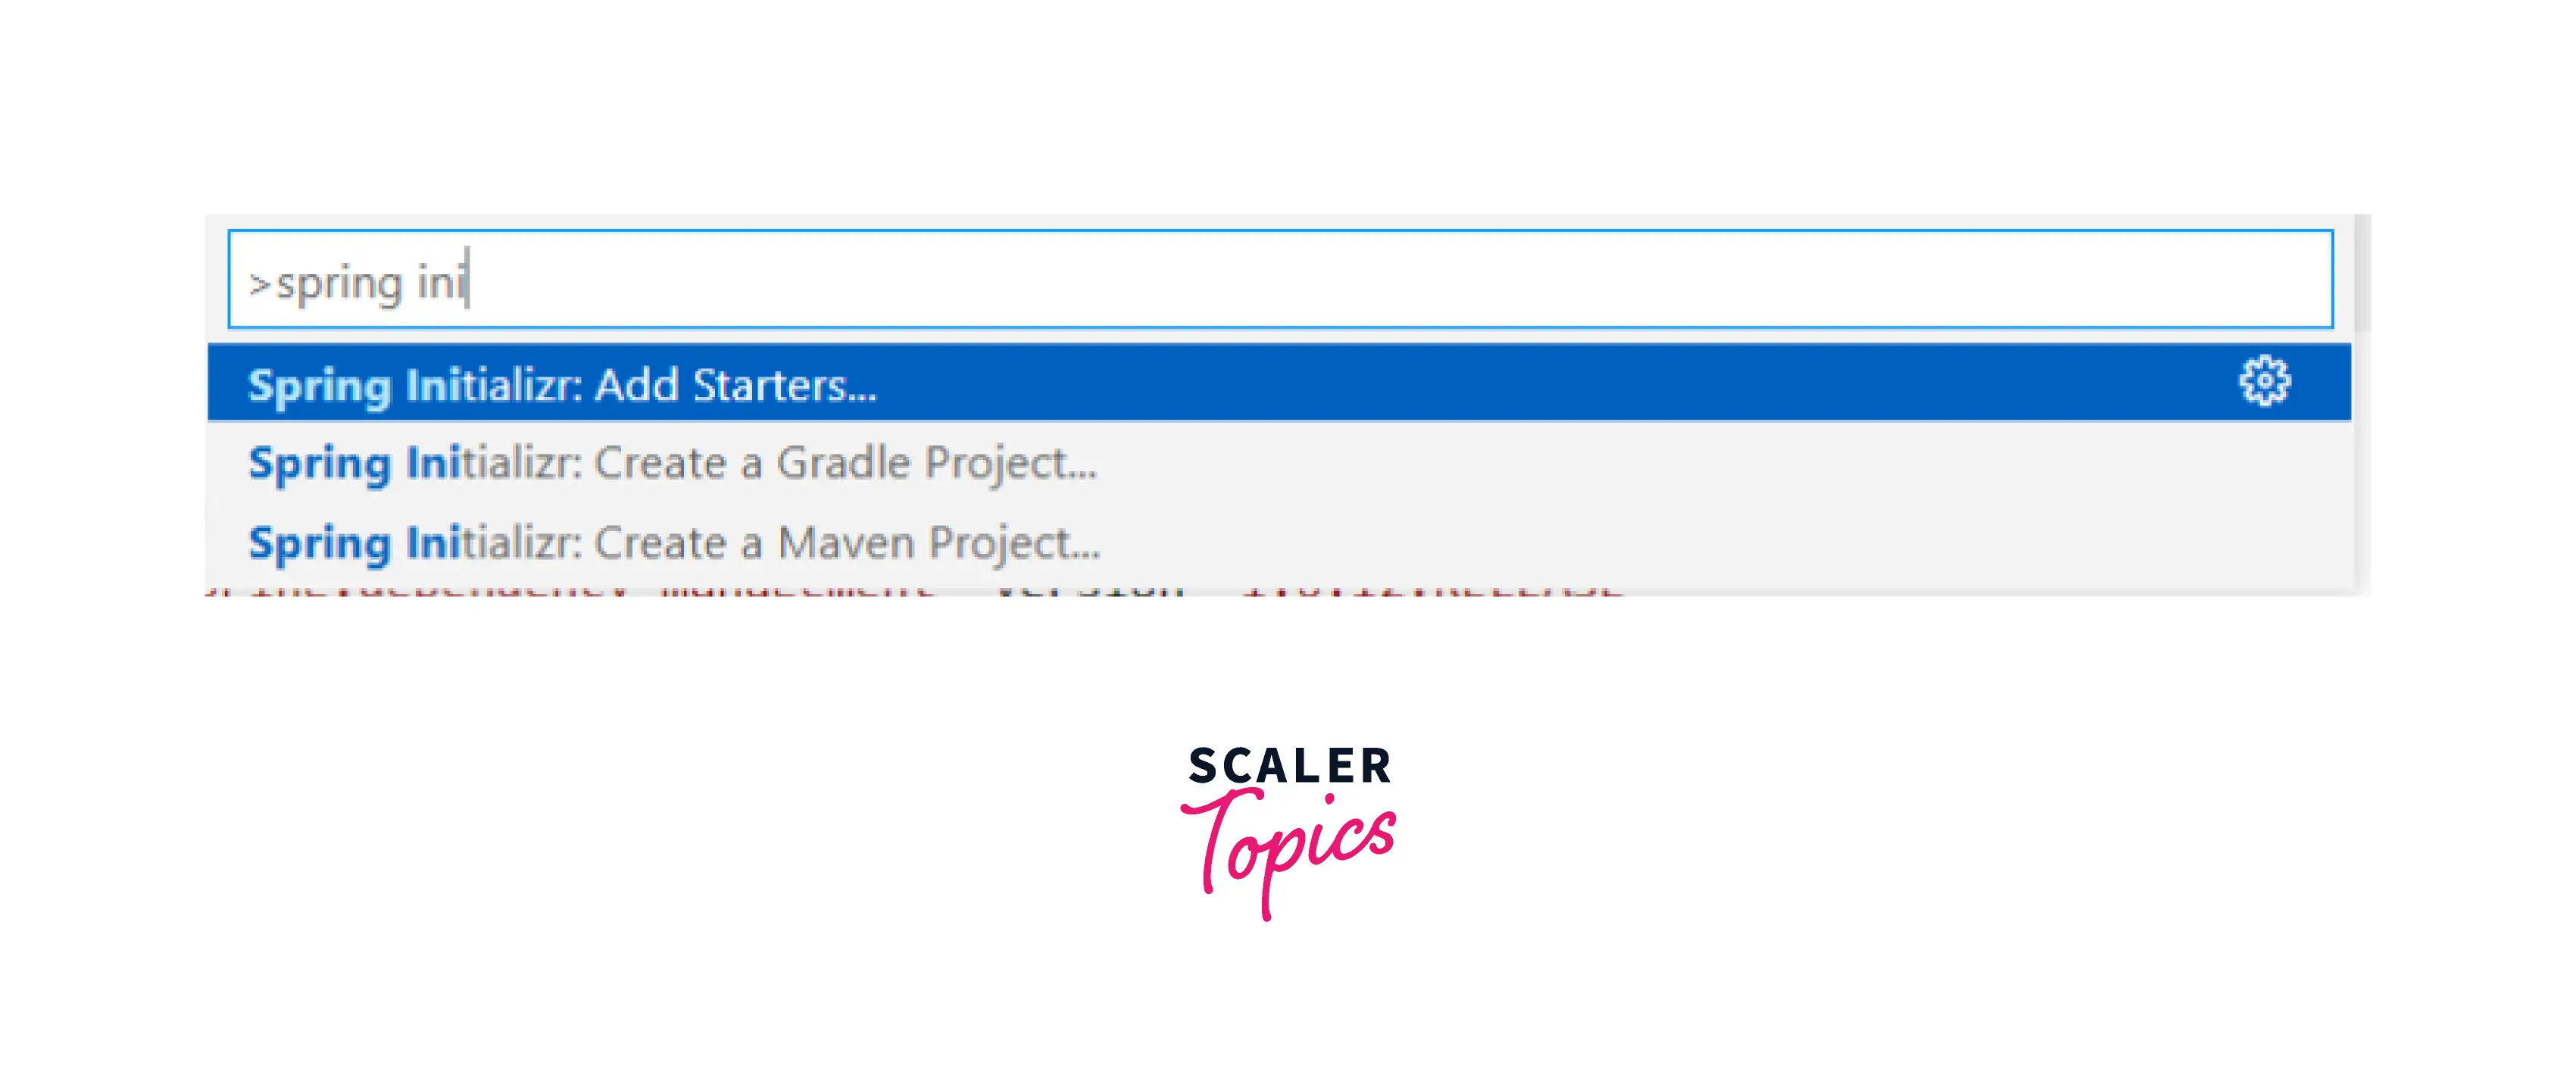
Create a new project Now we have the plugin installed. To create a new initializer-based project, press ctrl+shift+P to open the command palette and type spring init. You should see options "Create Gradle project" and "Create maven project". Choose either of them based on the build tool configured in your system.
-
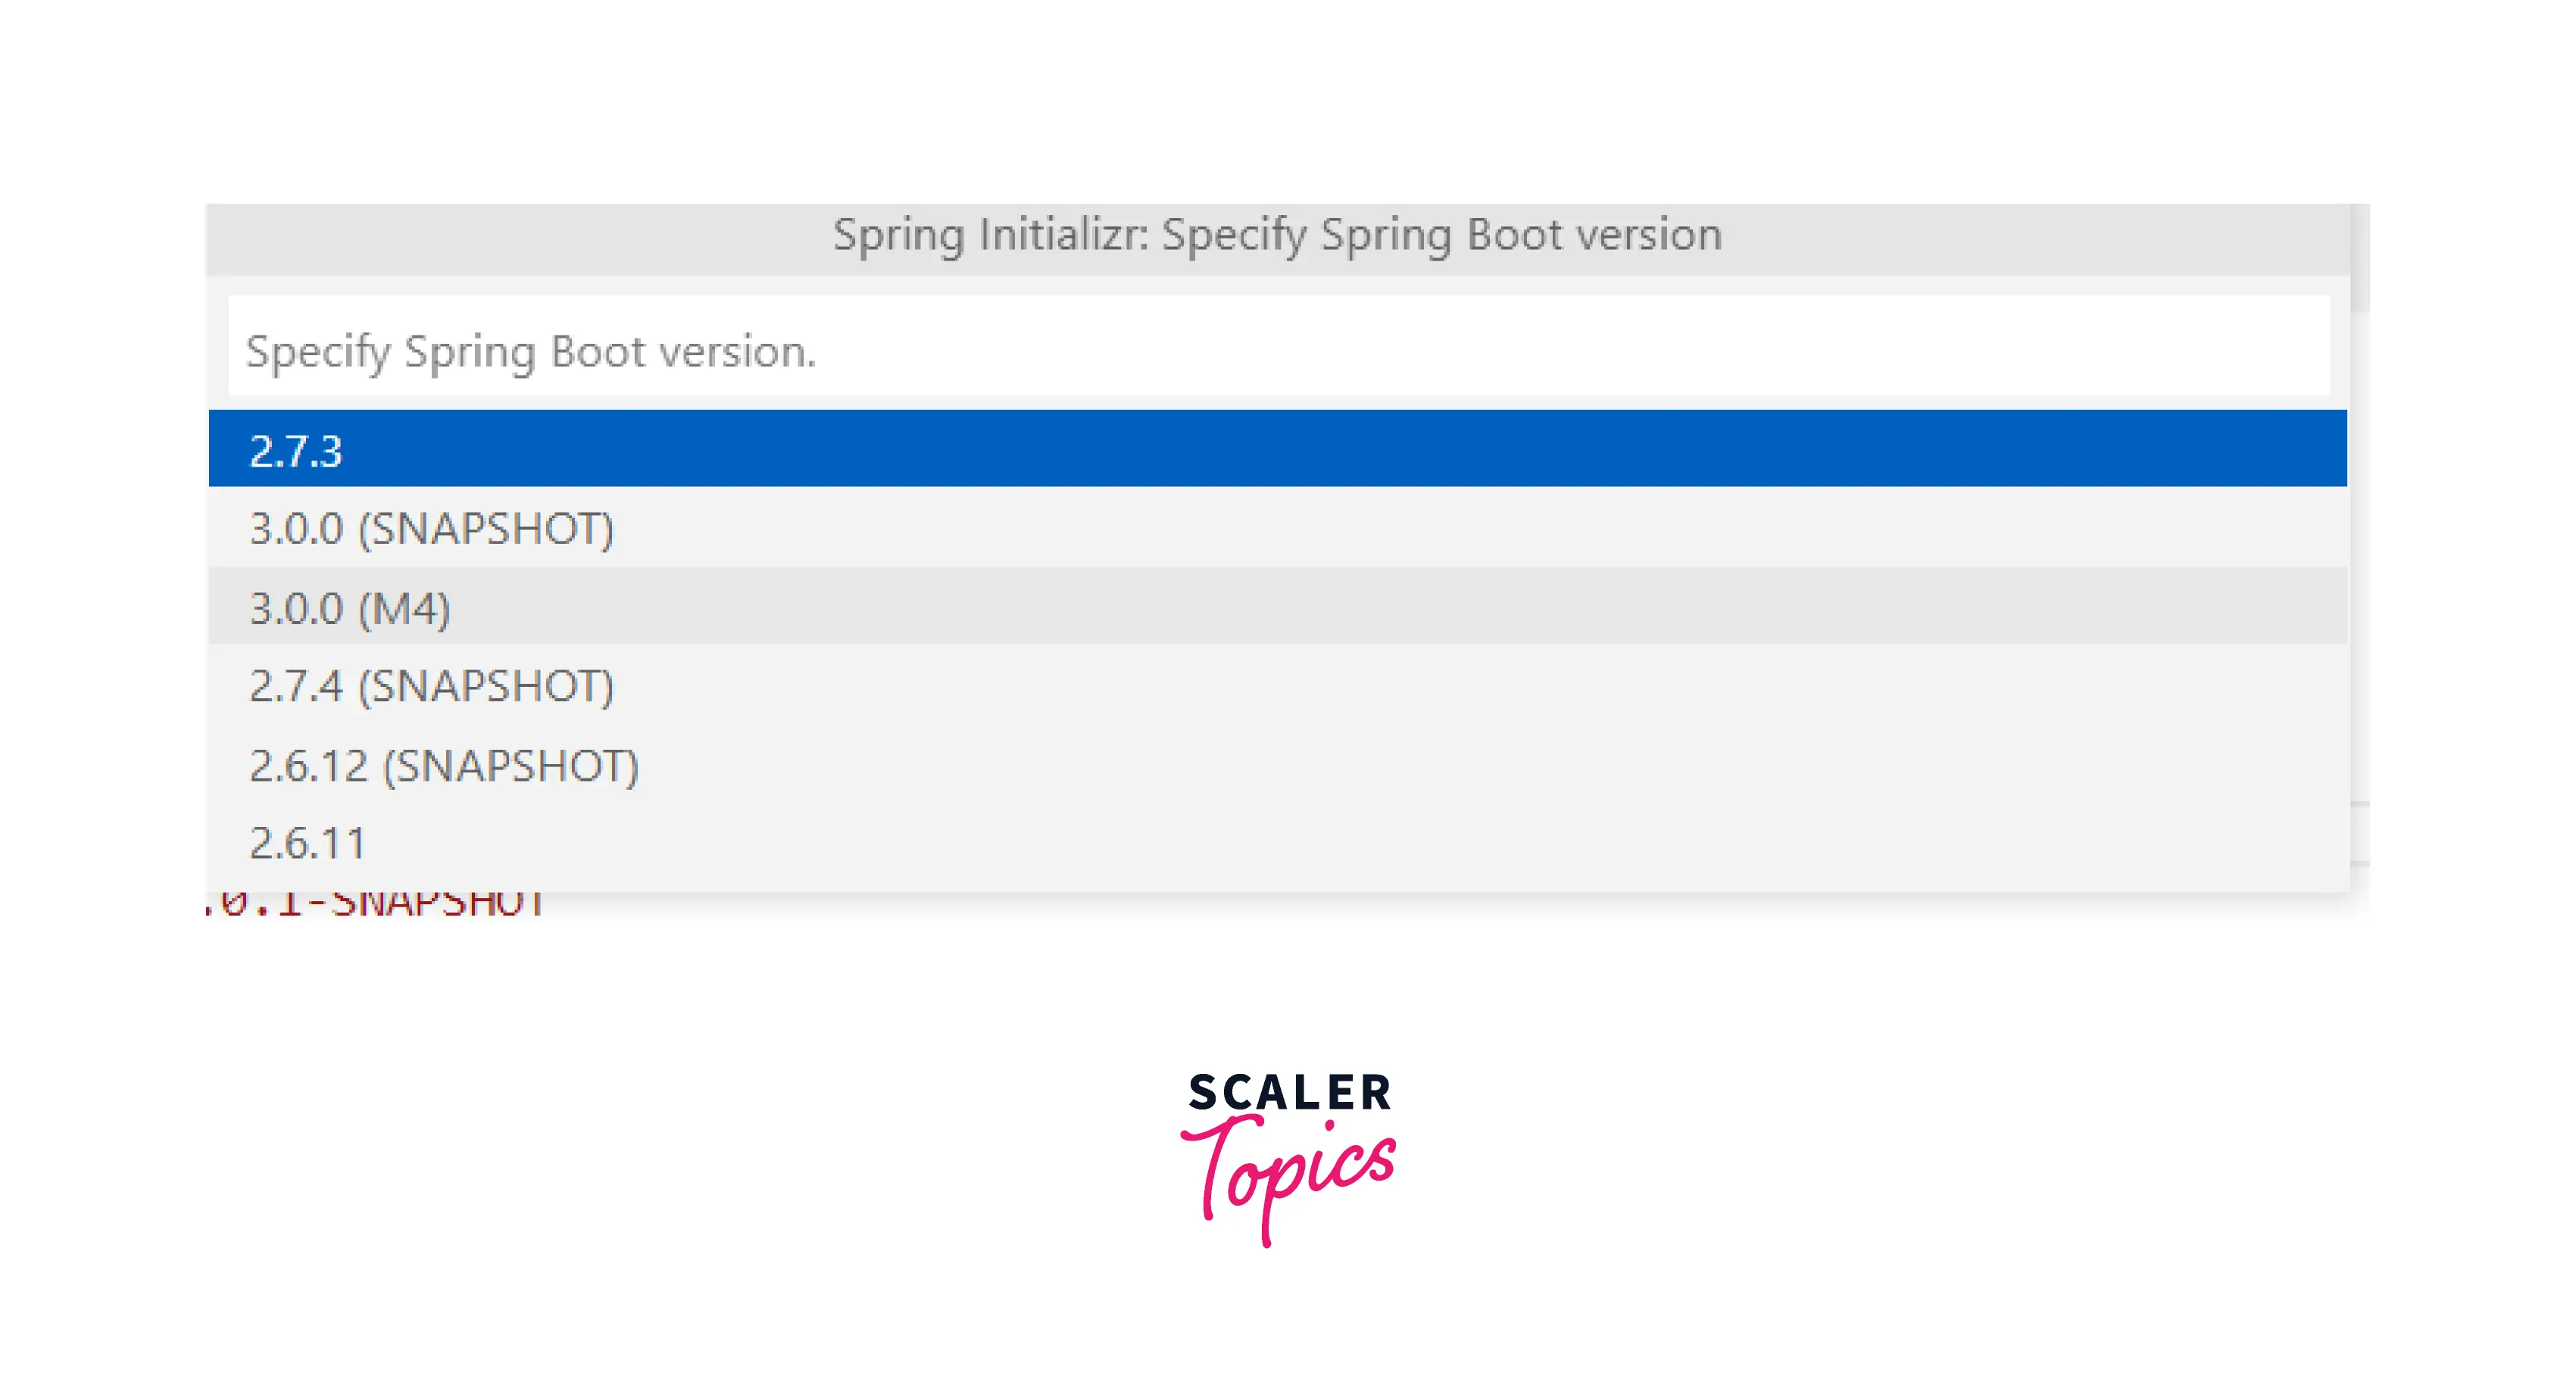
Select the spring boot version The wizard will ask for the spring boot version in the next step. Select appropriate version
-
Select other meta information Wizard will ask you for all the information visible on the starter web page. Once all the details are provided, it should generate a project in IDE.
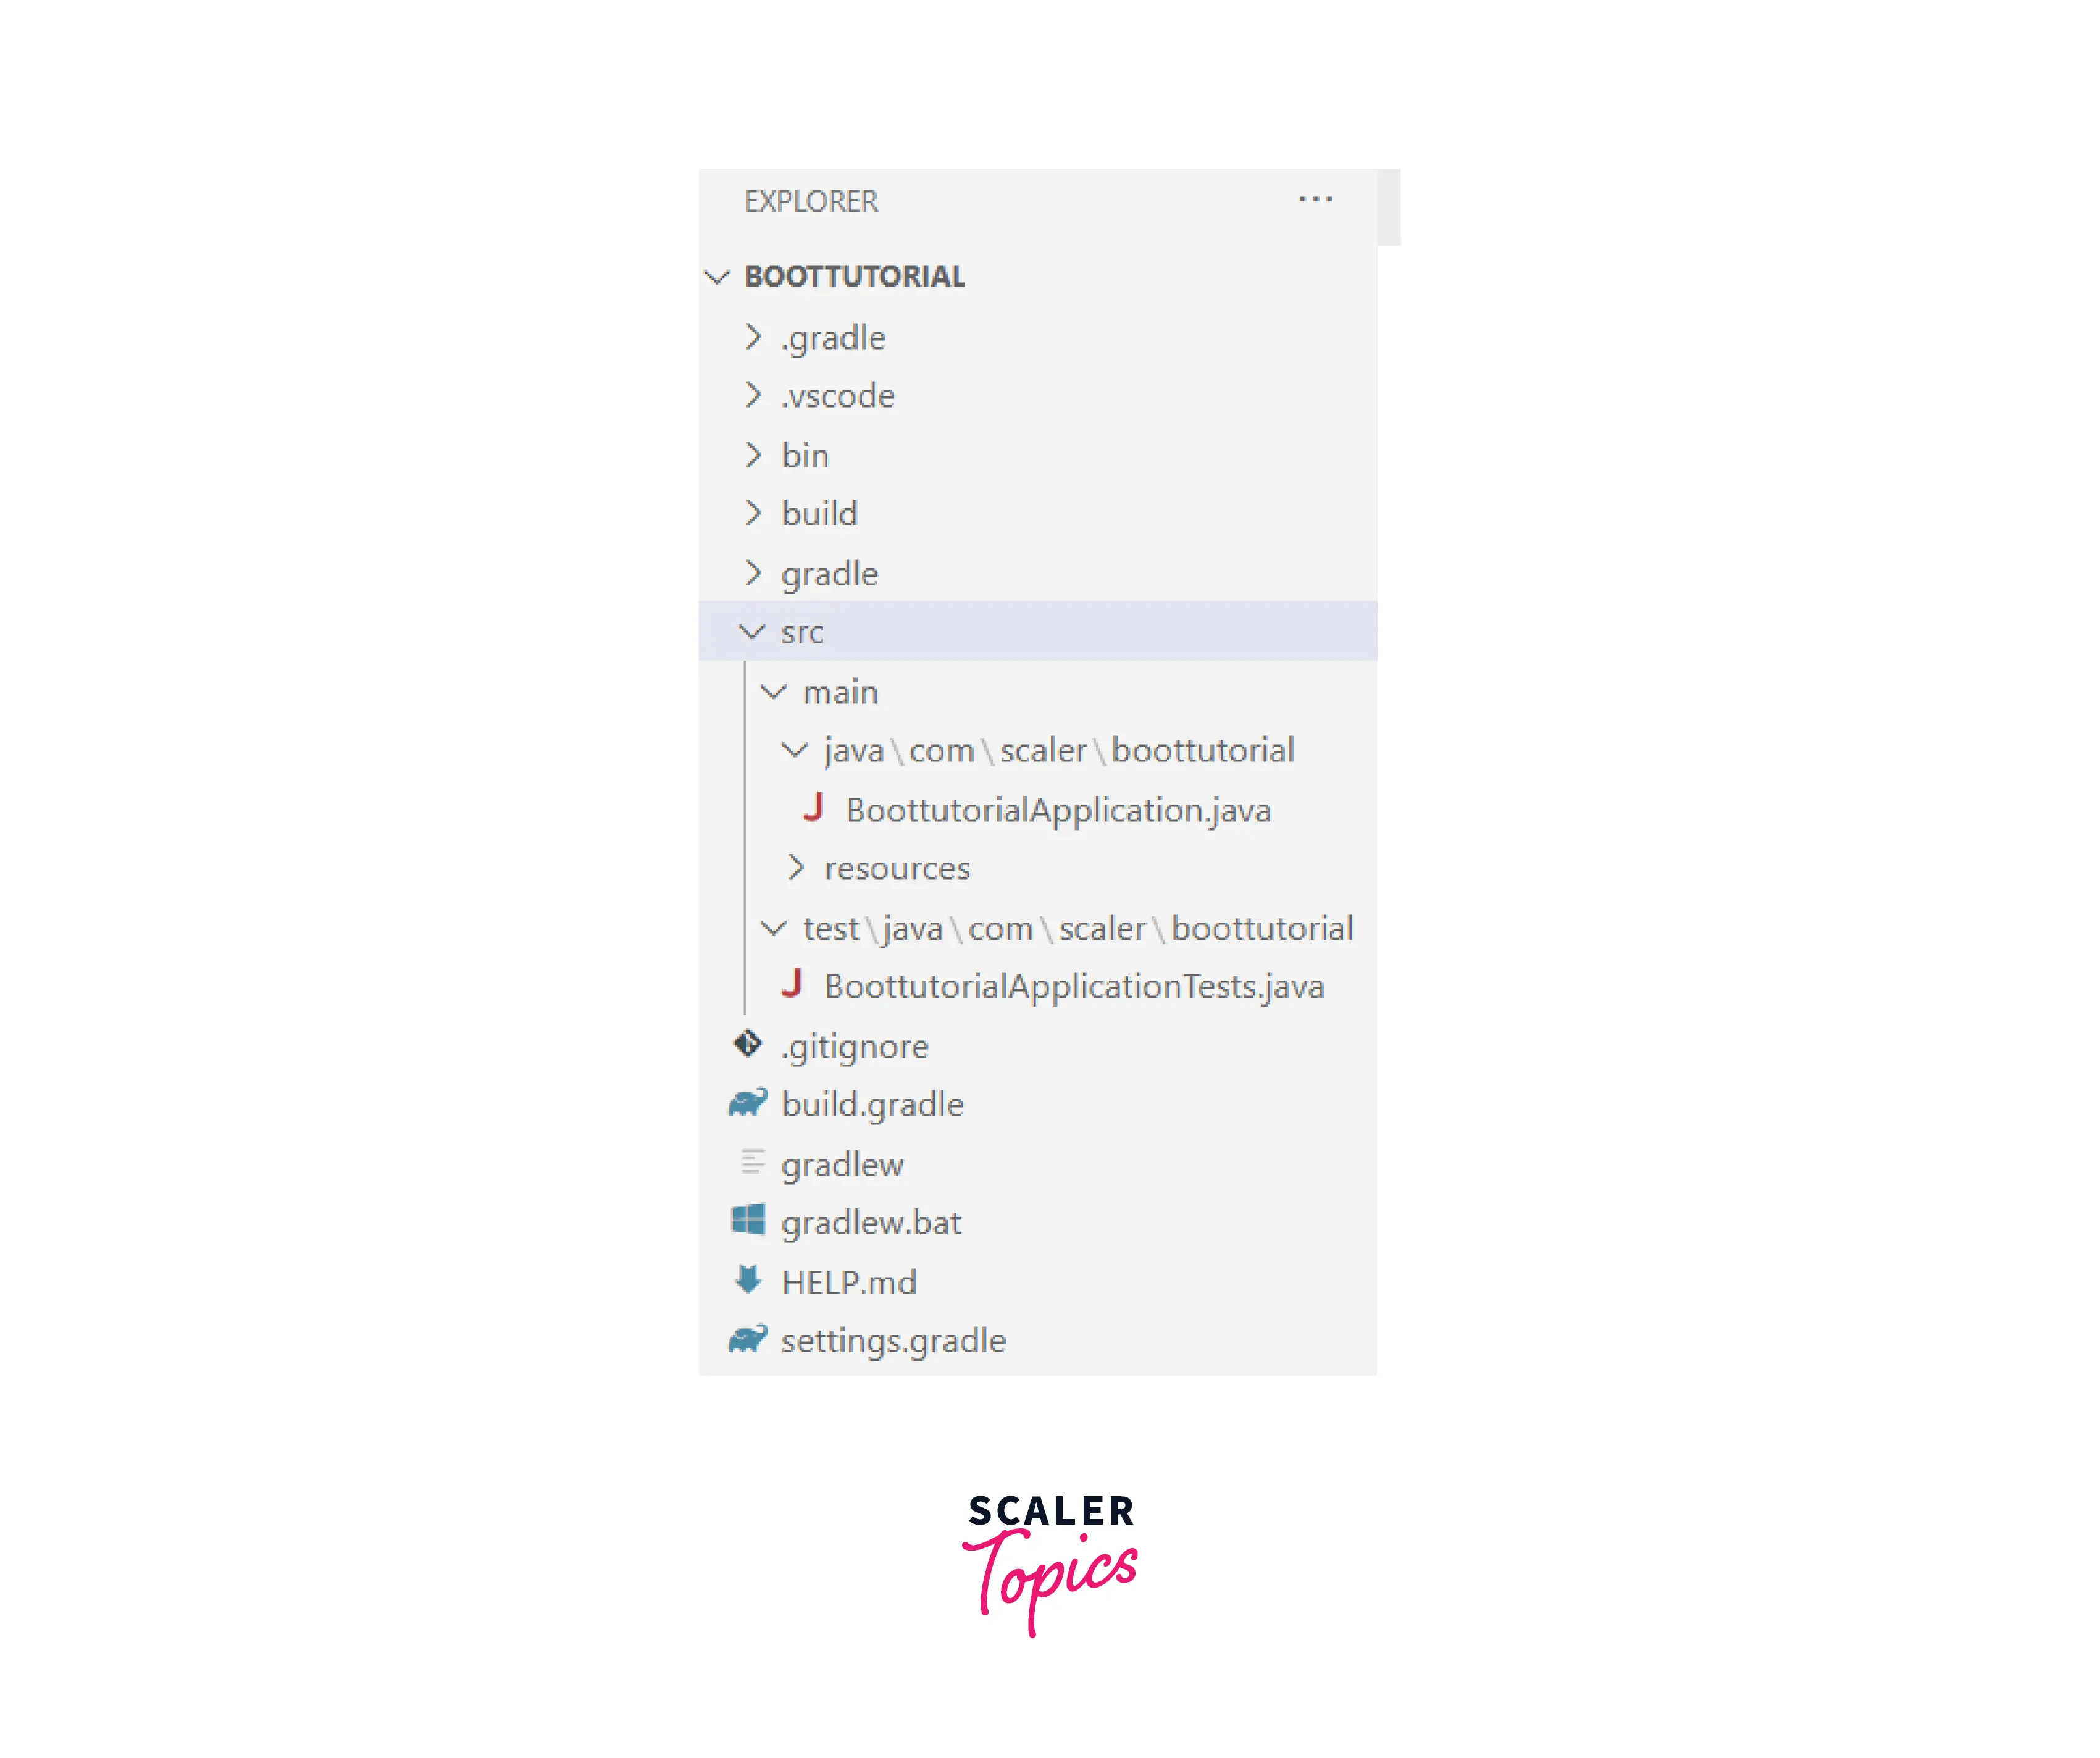
Prerequisites for creating a Spring Boot Application
System requirement
Java version requirement Spring Boot 2.7.3 requires Java 8+ version and is compatible with and including Java 18. Build support is provided for the following build tools:
Build tool version requirement
| Build Tool | Version |
|---|---|
| Maven | 3.5+ |
| Gradle | 6.8.x, 6.9.x, and 7.x |
Installation steps for Java, Maven, and Gradle
Spring boot needs only java and a build tool to be installed to start with the development.
Installing java
We need JDK v1.8 or higher. If you already have java installed, check the version using the below command.
If it's less than 1.8 or not installed, the required version can be downloaded from official website.
Once the required version of java is downloaded and installed.
- Set the 'PATH' env variable to the bin where java is installed.
- Verify installation using the java-version command. The output should look like the one below.
Installing maven
Spring boot needs maven 3.5+. Maven can be downloaded from official website.
The installation of Apache Maven is a simple process of extracting the archive and adding the bin folder to the PATH variable.
- Add the bin directory of the created directory apache-maven-<version> to the PATH environment variable
- Confirm version Confirm with mvn -v. The result should look similar to
Maven can be installed with a package manager on many operating systems. Windows users with Chocolatey can run choco install maven from an elevated (administrator) prompt. It does both the steps mentioned above from single command.
Installing Gradle
Installation of Gradle is exactly similar to maven.
- Download the required version of Gradle from gradle.org.
- Extract the archive and set the 'PATH' env variable to the bin directory of the extracted archive.
- Confirm installation. Confirm with gradle -v. The result should look similar to
If you are using Chocolatey then it can be installed using command choco install gradle.
Conclusions
- Prerequisite for Spring boot development needs java and maven or Gradle to be installed.
- Both maven and Gradle installation is as simple as setting path of /bin directory to the PATH env variable.
